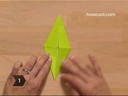
Position
Bird Base
Position the Bird Base so that there are separate right and left flaps
on the bottom. These flaps will be the tail and neck of the bird.
Fold
flap up and at angle
Fold one flap up and out to the side at a 45-degree angle above the
center horizontal, pivoting at the center of the model.
Unfold
Unfold.
Fold
flap in on itself
Fold the flap in on itself, between the model’s two layers, along
the existing creases. This reverse fold creates the tail.
Be sure to create your fold by pivoting at
the center of the model, or your bird will flop, not flap
Repeat
the reverse fold
Repeat the reverse fold on the other side, folding the flap up and out
to the side at a 45-degree angle above the center horizontal, pivoting
at the center of the model, then unfolding and folding the flap in on
itself, between the model’s two layers, along the existing creases.
This creates the neck.
Fold
the head
Fold the tip of the neck in on itself to form a head.
Lower
the tail
Grasp the wings and lower the tail slightly so the bottom of the wing
is centered in the middle of the tai
Fold
one wing down
Fold down the top of one of the two remaining center flaps diagonally
to make a wing by pivoting at the lower corner of the back of the wing.
Line up the front edge of the wing against itself and crease softly.
Repeat
with other wing
Repeat with the other wing.
Hold
bottom of neck and pull the tail
Grasp your bird at the bottom of the neck with one hand. Gently pull
the tail with your other hand and. . . up, up, and away!
 Position
Bird Base
Position
Bird Base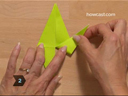 Fold
flap up and at angle
Fold
flap up and at angle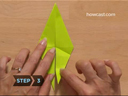 Unfold
 Fold
flap in on itself
Fold
flap in on itself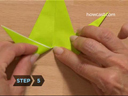 Repeat
the reverse fold
Repeat
the reverse fold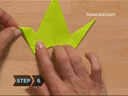 Fold
the head
Fold
the head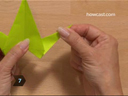 Lower
the tail
Lower
the tail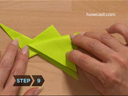 Repeat
with other wing
Repeat
with other wing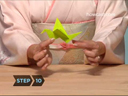 Hold
bottom of neck and pull the tail
Hold
bottom of neck and pull the tail