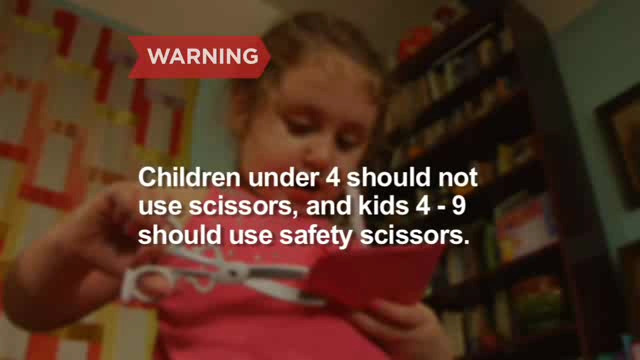
Children under four should not use scissors,
and kids four through nine should use safety scissors.
Create
the basic card
Create a basic card by folding a piece of construction paper in half, and then in half again. Dont feel you have to stick with red and pink. Using non-traditional colors will make your card stand out.
Cut
a cool edge
Trim the edges of the card with decorative-edge scissors, which create an interesting edge as you cut. Designs include scallop, wave, ripple, and torn paper.
Pick
a cover image
Decide what you want on the cover. You can draw or paint something right on the card; create the design on a separate piece of paper; or use a personal photo, a picture from a magazine, or a king or queen of hearts from an old deck of cards.
Make your own craft paint by mixing three
parts glue to one part water and a few drops of food coloring.
Punch
it up
If youre transferring an image onto the cover, punch holes around the edges and lace a piece of ribbon or yarn through them, tying the ends into a bow at the top.
Prep
the cover
Glue a background on the cover, like a doily, a square of velvet, a piece of fabric, or some aluminum foil. Or, use one of those materials to create a border.
Use decoupage glue—it won’t leave
bumps the way regular glue can.
Glue
on the picture
Glue on your cover image, and add whatever embellishments youd like: beads, candy hearts, stickers. Leave room for a greeting if youd like.
Write
messages
Using a slim marker, write your cover greeting and a message inside. For a more professional look, use a stencil-alphabet kit.
Not feeling inspired? Find a poem online,
paste it into a document on your computer, format it in fancy
font, and glue it inside the card.
Be
nice!
If the cards are going to classmates, make sure no one is left out.
 Create
the basic card
Create
the basic card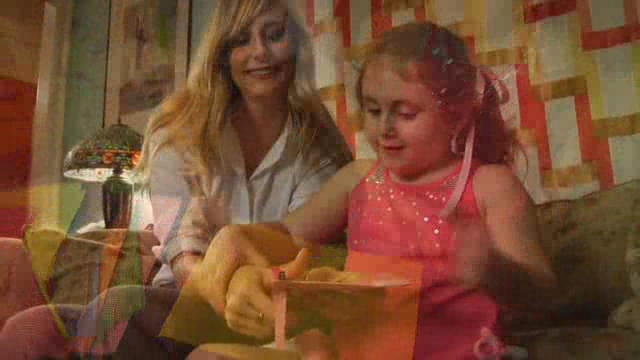 Cut
a cool edge
Cut
a cool edge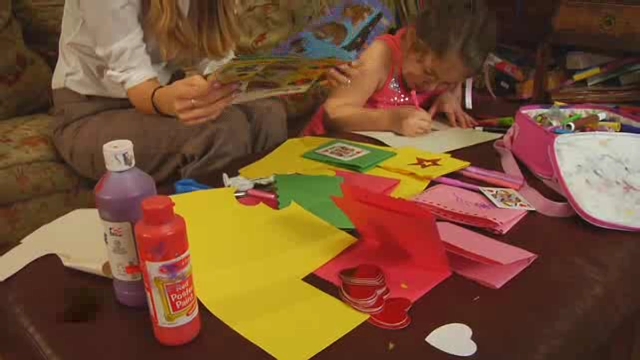 Pick
a cover image
Pick
a cover image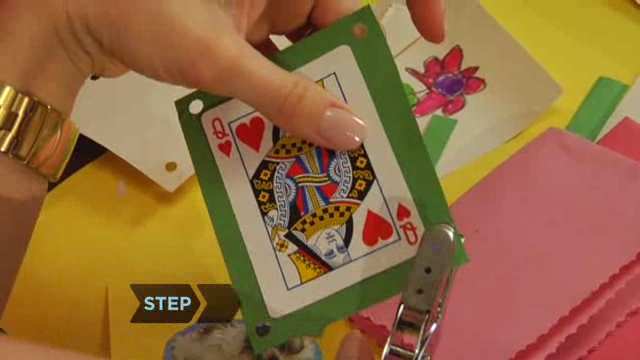 Punch
it up
Punch
it up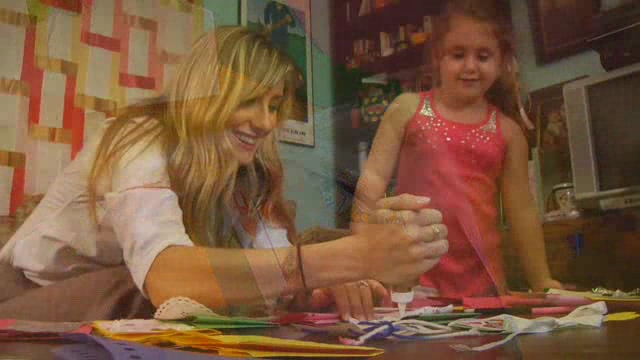 Prep
the cover
Prep
the cover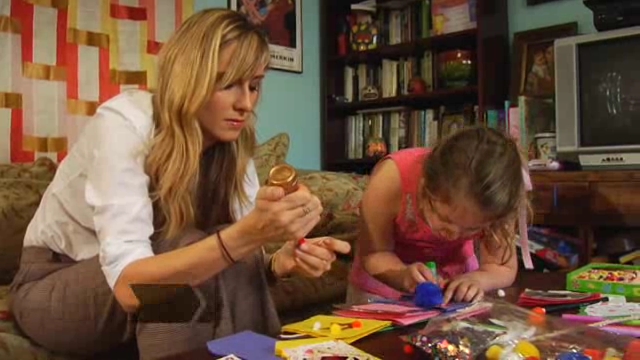 Glue
on the picture
Glue
on the picture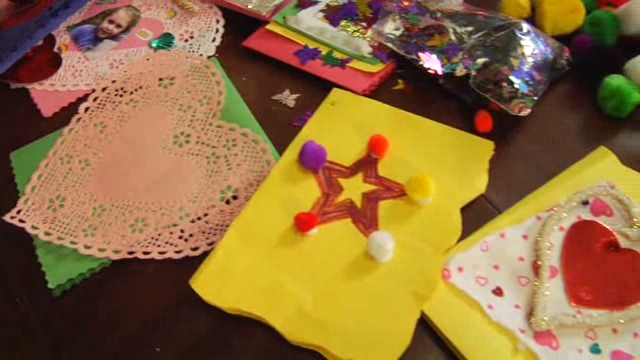 Write
messages
Write
messages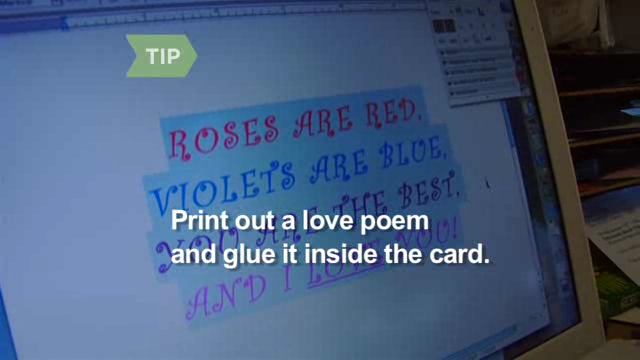 Be
nice!
Be
nice!