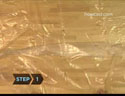
Set
up area
Spread a the plastic sheet or garbage bag out.
Rubber
band shirt
Bunch or fold up sections of the T-shirt, and wrap them tightly with
the rubber bands or string. These will be the areas that will stay white
after the shirt is dyed, forming a pattern.
It’s tough to predict exactly what kinds
of patterns your t-shirt will end up with—but that’s
the fun of making one!
Prepare
dye
Prepare the dye in the bucket according to the manufacturers directions.
Dip
shirt
Wearing gloves, dip the shirt or a section of it in the dye until its
the color you want.
Squeeze
& rinse
Squeeze out the excess dye, then rinse the T-shirt in the sink until
the water runs clear.
Let
dry
Leaving the rubber bands or string on, lay the shirt on the plastic
sheet or garbage bag to dry. Outside is best.
Once you get the hang of it, you can use more
than one color—start with the lightest, and let the shirt
dry completely before doing a new one.!
Remove
rubber bands
Remove the rubber bands or strings. Its easiest to cut them with scissors.
Wash
shirt
Before you wear it, wash your shirt in cold water alone or with clothing
thats the same color, since the dye may run. Be sure to accessorize
with love beads and a peace sign.
 Set
up area
Set
up area 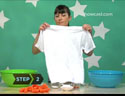 Rubber
band shirt
Rubber
band shirt 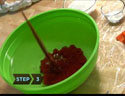 Prepare
dye
Prepare
dye 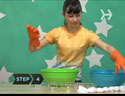 Dip
shirt
Dip
shirt  Squeeze
& rinse
Squeeze
& rinse  Let
dry
Let
dry 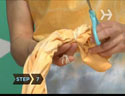 Remove
rubber bands
Remove
rubber bands 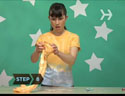 Wash
shirt
Wash
shirt